

Integrating crypto billing into a modern web app used to mean wrestling with raw blockchain APIs, managing private keys on the server side (a bad idea), or relying on third-party custodians who hold your funds. The TON ecosystem has changed that dynamic significantly in 2026. By leveraging the TON Connect protocol and the TON Pay toolkit, you can now accept native TON coin and USDT Jettons directly from users' wallets without ever touching their private keys. This guide walks you through the exact steps to build a production-ready payment flow using React and vanilla JavaScript, ensuring your users get a seamless experience while your backend remains secure.
Why TON and USDT Jettons for Web Apps?
The TON blockchain, originally designed by Telegram engineers and now maintained by the TON Foundation, offers a unique advantage: deep integration with the Telegram Mini App ecosystem. If your user base overlaps with Telegram's hundreds of millions of users, TON provides a frictionless path to payment. But even outside Telegram, the technical architecture is robust. USDT on TON is implemented as a Jetton token, issued by Tether in April 2024. Unlike ERC-20 tokens on Ethereum, Jettons follow a specific standard within the TON Virtual Machine (TVM), allowing for efficient fungible token transfers that behave predictably in smart contracts and wallets.
The key differentiator here is the separation of concerns. You don't need to build a wallet. You don't need to store keys. You just need to connect to the user's existing wallet via TON Connect. This reduces security overhead dramatically. For merchants, this means accepting stablecoin payments (USDT) to avoid volatility risk, while still benefiting from the low transaction fees and high throughput of the TON network.
Core Components: TON Connect and TON Pay
To integrate payments, you need to understand two main layers of the stack:
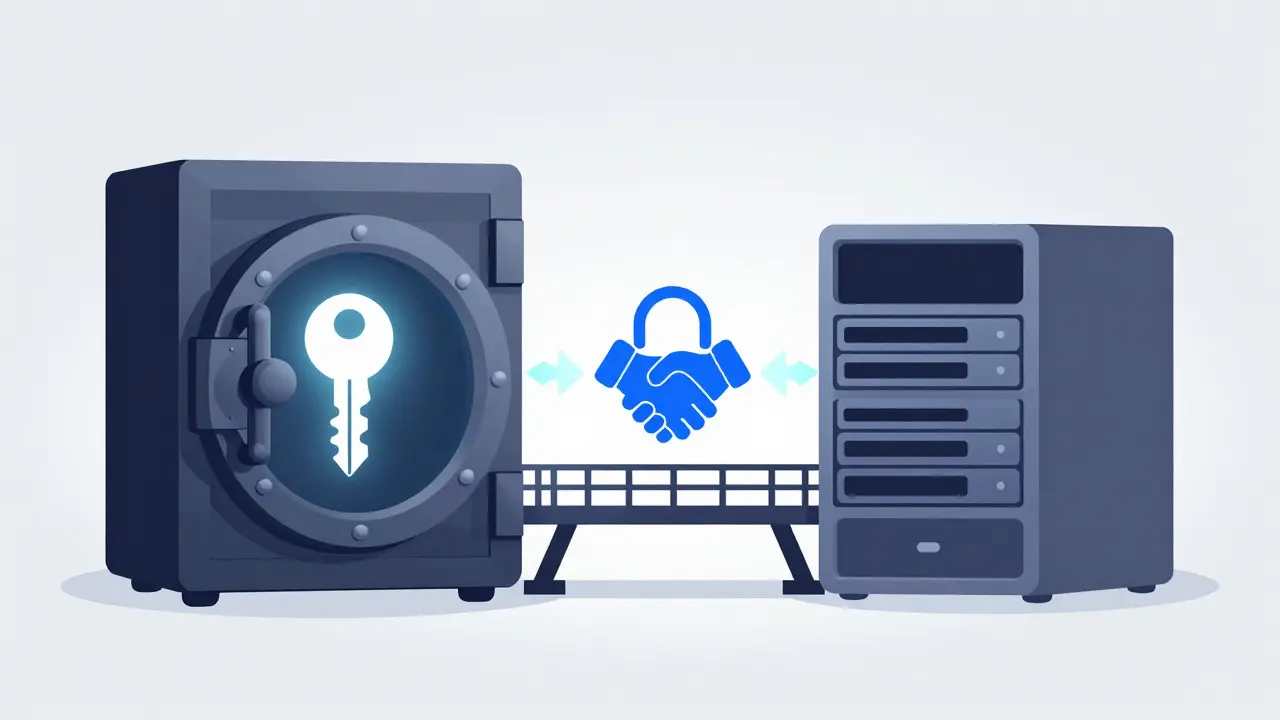
- TON Connect: This is the standard wallet connection protocol. It acts as the bridge between your web app and the user's wallet (like Tonkeeper or MyTonWallet). It handles session encryption, address retrieval, and transaction signing requests. Think of it as the "login" system for blockchain interactions.
- TON Pay: This is a higher-level developer toolkit built on top of TON Connect. It simplifies the creation of invoices, tracking payment status, and handling both TON coin and Jetton transfers. It provides UI components like
TonPayButtonand hooks likeuseTonPay, saving you from writing custom transaction logic.
For most web applications, using TON Pay is the recommended approach because it abstracts away the complex message formatting required for Jetton transfers. However, understanding TON Connect is essential for debugging and custom flows.
Step 1: Prepare Your TON Connect Manifest
Before writing any code, you need a manifest file. Wallets use this JSON file to verify your app's identity, display your logo, and show a warning if the URL doesn't match. Without a valid manifest, many wallets will refuse to connect or show a scary "unknown dApp" warning.
- Create a file named
tonconnect-manifest.json. - Serve it over HTTPS at a publicly accessible URL (e.g.,
https://yourdomain.com/tonconnect-manifest.json). - Include metadata such as your app name, description, URL, and icons.
Here is a basic structure:
{
  "url": "https://yourdomain.com",
  "name": "My Awesome Store",
  "iconUrl": "https://yourdomain.com/icon.png",
  "description": "Accepting TON and USDT"
}
Ensure your server allows CORS for this file, as wallets fetch it from different origins. A 404 error or CORS block here is the most common reason integrations fail silently.
Step 2: Install the SDKs
Depending on your frontend framework, install the appropriate packages. For React, you'll need the UI provider and the TON Pay React components. For vanilla JS, use the core SDK and vanilla UI components.
For a React application:
npm install @tonconnect/ui-react @ton-pay/ui-react @tonconnect/sdkNote that @ton-pay/api is only needed if you are building custom backend logic to create transfer messages manually. If you use the standard TonPayButton flow, the UI package handles the client-side orchestration.
Step 3: Implement the Payment Flow in React
The following example demonstrates a minimal but functional payment button that accepts TON or USDT Jettons. We wrap the app with TonConnectUIProvider to manage the wallet connection state globally.
import { TonConnectUIProvider } from '@tonconnect/ui-react';
import { TonPayButton, useTonPay } from '@ton-pay/ui-react';
import { createTonPayTransfer } from '@ton-pay/api';

function PayButton() {
  const { pay } = useTonPay();

  const handlePay = async (senderAddr: string) => {
    // Create the transfer message
    const { message, reference } = await createTonPayTransfer({
      amount: 12.34,
      asset: 'TON', // Or 'USDT' for Jettons
      recipientAddr: 'EQ...YOUR_WALLET_ADDRESS...',
      commentToSender: 'Order #123',
      options: {
        chain: 'mainnet',
        apiKey: 'YOUR_TON_PAY_API_KEY'
      }
    }, senderAddr);

    // Send the transaction via TON Connect
    const result = await pay(message);

    if (result.txResult) {
      console.log('Transaction sent:', result.txResult);
      // Trigger backend verification here
    }
  };

  return (
    <TonPayButton onClick={handlePay}>
      Pay with TON / USDT
    </TonPayButton>
  );
}

export default function App() {
  return (
    <TonConnectUIProvider manifestUrl="https://yourdomain.com/tonconnect-manifest.json">
      <div className="app-container">
        <h1>Checkout</h1>
        <PayButton />
      </div>
    </TonConnectUIProvider>
  );
}
Notice how createTonPayTransfer handles the complexity of constructing the correct message body for either TON or a Jetton. You simply specify the asset. For USDT, ensure you have the correct Jetton contract address configured in your TON Pay backend settings or passed explicitly if using custom logic.
Handling USDT Jettons Specifically
While TON coin transfers are straightforward, USDT Jettons require attention to decimals and contract addresses. USDT on TON typically uses 6 decimal places. When you set amount: 12.34 in createTonPayTransfer, the library handles the conversion to the smallest unit (Jetton units) automatically based on the asset definition.
If you are not using TON Pay's abstraction and building raw transactions, you must construct a Jetton transfer message directed to the official USDT Jetton master contract. The message includes:
- The destination Jetton wallet address (derived from the recipient's TON address).
- The amount in jetton units (integer).
- An optional comment payload for off-chain identification.
Backend Verification and Webhooks
A critical part of any payment integration is confirming that the money actually arrived. Don't trust the frontend alone. Use the reference ID returned by createTonPayTransfer to track the payment status.
You can poll the TON Pay API using getTonPayTransferByReference(reference). The status will be one of:
pending: Transaction broadcasted, waiting for confirmation.success: Transaction confirmed on-chain.error: Transaction failed or reverted.
For production apps, consider setting up webhooks if supported by your TON Pay plan, or implement a polling loop on the backend every 5-10 seconds until the status changes. Once success is received, update your database to mark the invoice as paid and trigger fulfillment (e.g., send a receipt, unlock content).

Best Practices and Common Pitfalls
- Manifest Accessibility: Ensure your manifest is served over HTTPS and accessible via CORS. Test it by opening the URL in a new browser tab.
- Valid Until Timestamp: When sending transactions, set a reasonable
validUntiltimestamp (e.g., current time + 5 minutes). This prevents stale transactions from being signed hours later. - User Rejection Handling: If a user closes the wallet popup or clicks "Cancel," treat it as a normal cancellation, not an error. Show a friendly message like "Payment cancelled" rather than a red error alert.
- Testnet First: Always test on TON Testnet before going live. Use a faucet to get test TON and USDT Jettons. This ensures your manifest, contract addresses, and webhook handlers work correctly without risking real funds.
- CORS Issues: If your manifest fails to load, check your server's CORS headers. The wallet needs to fetch the manifest from its own origin, so your server must allow cross-origin requests.
Comparison: TON vs. Other Chains for Web Payments
| Feature | TON | Ethereum | TRON |
|---|---|---|---|
| Standard Token Type | Jetton | ERC-20 | TRC-20 |
| Wallet Connection Protocol | TON Connect | EIP-1193 (MetaMask etc.) | TronLink |
| Native Stablecoin Support | USDT (Jetton) | USDT (ERC-20) | USDT (TRC-20) |
| Telegram Integration | Native (Mini Apps) | Limited | Limited |
| Typical Transaction Fee | < $0.01 | $0.50 - $5.00+ | < $0.01 |
As shown, TON offers similar fee structures to TRON but with a distinct advantage in the Telegram ecosystem. If your users are already on Telegram, TON minimizes friction by allowing payments directly within the chat interface. For general web apps, TON's low fees and fast finality make it competitive with other Layer-1 chains, especially when combined with the structured tooling provided by TON Pay.
Future-Proofing Your Integration
The TON ecosystem is evolving rapidly. As of mid-2026, documentation updates are frequent, signaling active development. Keep an eye on the TON Docs for updates to the TON Connect specification and TON Pay features. The trend is moving toward more standardized, higher-level abstractions that make adding crypto payments as simple as integrating Stripe or PayPal. By starting with TON Connect and TON Pay, you position your app to benefit from these improvements without needing to rewrite your core payment logic.
Do I need to store user private keys on my server?
No. With TON Connect, private keys remain inside the user's wallet application. Your web app only requests signatures for specific transactions. This non-custodial model significantly reduces your security liability.
What is the difference between TON coin and USDT Jettons?
TON is the native gas token of the TON blockchain, used for paying transaction fees. USDT Jettons are a stablecoin implementation on TON, pegged to the US dollar. You can accept both, but USDT provides price stability for your revenue, while TON incurs volatility risk.
Can I use TON Pay with vanilla JavaScript instead of React?
Yes. TON Pay provides @ton-pay/ui for vanilla JavaScript environments. The core concepts and API methods like createTonPayTransfer remain the same, but you will interact with DOM elements directly instead of using React hooks.
How do I verify that a USDT payment was successful?
Use the reference ID generated during the payment creation process to query the TON Pay API or your backend indexer. Poll for the status until it changes from 'pending' to 'success'. Alternatively, listen for on-chain events if you have a full node or use a service like TON API to monitor Jetton transfers to your address.
Is there a limit to how much USDT I can receive?
There is no hard protocol limit for receiving USDT Jettons, but practical limits may apply based on your backend processing capacity and the specific wallet's maximum transaction size settings. For very large amounts, consider splitting payments or consulting with the TON Foundation for enterprise-grade solutions.
- Poplular Tags
- TON payments
- USDT Jettons
- TON Connect
- crypto billing
- web integration